Harley tank lifts can cause issues like fuel line stress and altered bike aerodynamics. These problems can affect ride quality and safety.
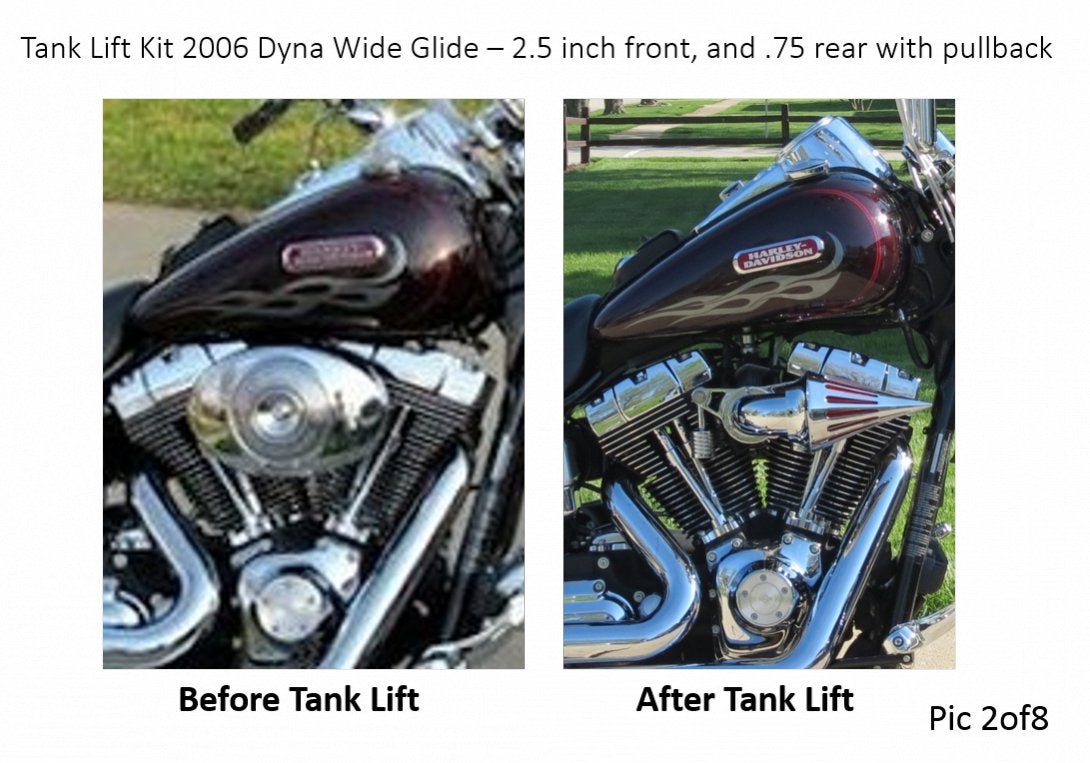
Harley-Davidson motorcycles are iconic, but modifications like tank lifts come with their own set of challenges. Tank lifts are popular for aesthetic and practical reasons, such as improved airflow and easier access to engine components. Despite these benefits, tank lifts can lead to complications.
Stress on fuel lines can result in leaks or even fuel starvation. Altered aerodynamics may affect bike stability and handling, especially at high speeds. Riders should weigh the pros and cons carefully and ensure professional installation. Regular maintenance checks are crucial to mitigate these risks and enjoy a safe riding experience.
Introduction To Harley Tank Lift Issues
Harley tank lifts can enhance the bike’s look. They also provide better airflow. But, they can sometimes cause problems. Knowing these issues helps maintain your Harley.
Common Symptoms Of Tank Lift Problems
Harley tank lift problems often show clear symptoms. Recognizing these can prevent bigger issues.
- Vibrations: Increased vibrations are a common symptom.
- Fuel Leaks: Check for fuel leaks around the tank area.
- Misalignment: Noticeable misalignment can indicate an issue.
- Unusual Noises: Listen for clanking or rattling sounds.
Impact On Ride Quality
Tank lift issues can affect your ride quality. These impacts can make your rides less enjoyable.
| Issue | Impact |
|---|---|
| Vibrations | Can cause discomfort on long rides. |
| Fuel Leaks | Can be dangerous and reduce fuel efficiency. |
| Misalignment | Can make handling the bike harder. |
| Unusual Noises | Can distract and worry the rider. |
Identifying The Problem
Harley tank lift modifications can improve your bike’s appearance. But they can also cause issues. Identifying these problems early can save you time and money.
Visual Inspection Tips
Start with a visual inspection. Look for any loose or missing bolts. Check if the tank is aligned properly. Examine the tank mounts for cracks or wear.
- Ensure all bolts are tight.
- Check for any signs of rust or corrosion.
- Inspect the fuel lines for leaks or damage.
Use a flashlight to see under the tank. Look for any unusual wear. Small issues can become big problems.
Diagnosing Fuel Flow Issues
Fuel flow issues can arise from a tank lift. Start by checking the fuel lines. Make sure they are not pinched or kinked.
- Turn off the fuel valve.
- Disconnect the fuel line from the carburetor.
- Place a container under the line.
- Turn the fuel valve back on.
- Observe the fuel flow.
If the flow is weak, there might be a blockage. Check the fuel filter for debris. Replace it if necessary.
Also, check the fuel pump. Ensure it is working correctly. Listen for any unusual noises. A faulty pump can cause fuel flow problems.
By following these steps, you can identify and address Harley tank lift problems effectively.
Quick Fix Strategies
Harley Davidson motorcycles are iconic, but tank lift problems can arise. These issues can be frustrating. Quick fixes can help maintain your bike’s performance.
Adjusting Tank Position
To start, ensure the tank is aligned correctly. Misalignment can cause issues. Follow these steps for proper adjustment:
- Loosen the bolts securing the tank using a wrench.
- Gently lift the tank and reposition it.
- Ensure the tank is centered.
- Tighten the bolts securely.
Proper alignment ensures smooth operation and reduces stress on components.
Checking For Loose Components
Loose parts can cause vibration and noise. Regular checks can prevent problems. Follow these steps:
- Inspect all bolts and screws around the tank.
- Use a wrench to tighten any loose bolts.
- Check the fuel lines for any signs of wear.
- Ensure the brackets are secure.
Keeping components tight ensures a stable and safe ride.
Here is a table for quick reference:
| Component | Action |
|---|---|
| Bolts | Tighten with a wrench |
| Tank Position | Adjust and center |
| Fuel Lines | Inspect for wear |
| Brackets | Ensure secure fit |
Regular maintenance and quick fixes ensure your Harley runs smoothly.
Tools And Materials Needed
Facing problems with your Harley tank lift can be frustrating. A successful fix starts with the right tools and materials. Here’s a guide to help you gather everything you need.
Essential Toolkit
A well-equipped toolkit is crucial for any Harley tank lift issue. Here are the essential tools:
- Socket Wrench Set – For loosening and tightening bolts.
- Allen Wrenches – For hexagonal bolts and screws.
- Torque Wrench – To ensure bolts are tightened to the correct specs.
- Screwdrivers – Both flathead and Phillips for various screws.
- Pliers – For gripping and bending tasks.
- Rubber Mallet – To gently tap parts into place without damage.
- Shop Rags – To keep your work area clean.
Replacement Parts And Where To Find Them
Sometimes, solving a Harley tank lift problem involves replacing parts. Here are some common parts you might need:
| Part | Description | Where to Find |
|---|---|---|
| Tank Lift Kit | Includes brackets, bolts, and washers. | Harley dealerships, online stores. |
| Fuel Lines | Replacement for worn-out or damaged lines. | Auto parts stores, online retailers. |
| Bolts and Nuts | Specific sizes for Harley tanks. | Hardware stores, Harley dealerships. |
| Gaskets | Ensure a proper seal after lifting the tank. | Motorcycle parts stores, online. |
Having these tools and parts ready can make your repair process smooth. This preparation ensures you get your Harley back on the road quickly.
Step-by-step Repair Guide
Harley tank lift problems can be challenging. This guide will help you fix these issues. Follow each step carefully to ensure your Harley runs smoothly. Let’s dive into the repair process.
Removing The Tank Safely
Before starting, gather all necessary tools. You will need wrenches, screwdrivers, and a soft cloth.
- First, turn off the engine and let it cool down.
- Next, disconnect the battery to avoid any electrical issues.
- Place a soft cloth over the tank to prevent scratches.
- Carefully remove the seat using a screwdriver.
- Locate the bolts holding the tank and unscrew them with a wrench.
- Lift the tank gently to avoid damaging any connections.
Performing The Lift Adjustment
Now that the tank is safely removed, it’s time to adjust the lift.
- Inspect the tank lift brackets for any damage.
- Using a wrench, loosen the bolts on the lift brackets.
- Adjust the brackets to the desired height.
- Tighten the bolts securely to hold the new position.
- Double-check all connections to ensure they are tight.
- Reattach the tank carefully, ensuring all hoses and wires are connected.
- Secure the tank with the bolts you removed earlier.
- Reconnect the battery and test the lift adjustment.
By following this guide, you can fix Harley tank lift problems effectively. Remember to work patiently and carefully.

Credit: www.hdforums.com
Preventative Measures
Harley tank lift problems can be a headache. Taking preventative measures can save you time and money. Routine maintenance and smart upgrades can ensure smooth rides.
Routine Maintenance Tips
- Check tank bolts regularly for tightness.
- Inspect for any signs of rust or corrosion.
- Ensure fuel lines are not kinked or damaged.
- Keep the tank area clean to spot issues early.
Upgrades To Avoid Future Problems
Consider these upgrades to prevent future Harley tank lift problems:
- Install stainless steel bolts to resist rust.
- Use high-quality washers for better grip.
- Opt for a reinforced tank lift kit for added strength.
- Add a rubber gasket to cushion vibrations.
By following these tips and upgrades, you can keep your Harley running smoothly. Simple steps can make a big difference.
Troubleshooting Post-repair Issues
After lifting your Harley tank, you might face some unexpected issues. These problems can range from minor annoyances to significant concerns. Let’s explore how to troubleshoot these post-repair issues effectively.
When To Seek Professional Help
Some problems need expert attention. If your tank leaks fuel, don’t try to fix it yourself. Fuel leaks can be dangerous. Electrical issues after a tank lift also need a professional. Wires might have been disturbed, causing shorts or malfunctions.
Also, if the bike’s handling feels off, get it checked. Handling issues can be a sign of a serious problem. Always prioritize your safety over DIY fixes.
Fine-tuning After The Fix
Once the main problems are resolved, it’s time for fine-tuning. Check the alignment of your tank. Misalignment can cause vibrations and discomfort. Use a level to ensure the tank sits correctly.
Inspect the hose connections. Make sure all hoses are securely attached. Loose hoses can lead to fuel leaks or engine performance issues. Use clamps to tighten any loose connections.
Lastly, adjust the tank mounting bolts. Ensure they are tight but not overly so. Over-tightening can strip threads or crack mounts.
| Issue | DIY Fix | Professional Help Needed |
|---|---|---|
| Fuel Leak | No | Yes |
| Electrical Problem | No | Yes |
| Handling Issue | No | Yes |
| Tank Misalignment | Yes | No |
| Loose Hoses | Yes | No |
| Tightening Bolts | Yes | No |
Credit: www.reddit.com
Rider Experiences And Advice
Harley tank lifts can improve your bike’s look and performance. They also bring challenges. Riders share their experiences and advice on this topic. Let’s explore what the community has to say.
Community Forums And Feedback
Many riders turn to community forums for advice on Harley tank lifts. These forums are a goldmine of information. Riders share their success stories and challenges.
Here is a summary of common feedback:
- Pros: Improved airflow, better aesthetics, easier maintenance.
- Cons: Fuel line issues, tank stability, additional costs.
One rider mentioned, “I lifted my tank and loved the look, but the fuel lines were tricky.” Another rider added, “The lift improved my bike’s airflow but caused stability issues.”
Personal Stories Of Troubleshooting
Riders often share personal stories of troubleshooting tank lift problems. These stories provide practical advice.
Here are a few examples:
- One rider fixed fuel line kinks by using longer hoses.
- Another rider added rubber spacers for better tank stability.
- A third rider suggested using zip ties to secure loose cables.
A rider shared, “My tank wobbled after the lift. I added spacers, and it worked.” Another rider noted, “I had fuel line kinks. Longer hoses solved the problem.”
These stories highlight the importance of practical solutions and community support.

Credit: www.reddit.com
Conclusion
Lifting your Harley tank can enhance its look and performance. Be aware of potential problems and solutions. Proper installation and regular checks will help avoid issues. Always consult experts if unsure. Enjoy your ride with confidence, knowing your tank lift is secure.