Kawasaki fuel pump problems often include issues like clogging, wear and tear, and electrical failures. These can cause engine stalling or poor performance.
Kawasaki motorcycles and engines are renowned for their performance and reliability. Yet, fuel pump problems can affect even the best machines. Common issues include clogging due to dirt or debris, wear and tear from prolonged use, and electrical failures that disrupt fuel flow.
Identifying these problems early can prevent severe engine damage and ensure smooth operation. Regular maintenance, including checking the fuel pump and replacing filters, can mitigate these issues. By addressing fuel pump problems promptly, you can maintain your Kawasaki’s peak performance and longevity.

Credit: www.amazon.com
Introduction To Kawasaki Fuel Pump Issues
Kawasaki motorcycles are known for their reliability and performance. Sometimes, fuel pump problems can arise. These issues can affect your bike’s efficiency and power. Understanding these problems helps in maintaining your Kawasaki better.
Common Symptoms Of Fuel Pump Failure
Recognizing the signs of a failing fuel pump is crucial. Here are some common symptoms:
- Engine Sputtering: Your engine might sputter at high speeds.
- Starting Problems: The bike struggles to start or won’t start at all.
- Loss of Power: Noticeable loss of power during acceleration.
- Noise: Unusual whining noises from the fuel tank area.
- Poor Fuel Efficiency: A drop in fuel efficiency without any other cause.
Potential Impact On Kawasaki Performance
Fuel pump issues can significantly affect your bike’s performance. Here’s how:
| Issue | Impact |
|---|---|
| Engine Sputtering | Reduced speed and smoothness of ride |
| Starting Problems | Increased difficulty in starting the bike |
| Loss of Power | Slower acceleration and reduced power output |
| Noise | Distracting and potentially harmful to the fuel system |
| Poor Fuel Efficiency | More frequent refueling and higher costs |
Keep your Kawasaki in top condition by addressing fuel pump issues promptly. Regular maintenance is key.
Identifying Your Kawasaki Model
Understanding your Kawasaki model is crucial for addressing fuel pump problems. Each model has unique specifications and potential issues. Identifying your model helps in finding the right solutions.
Differences Across Kawasaki Ranges
Kawasaki produces a variety of motorcycles, ATVs, and jet skis. Each range has different fuel pump designs. It’s essential to know which range your model belongs to.
- Motorcycles: Includes Ninja, Versys, and Vulcan.
- ATVs: Teryx, Brute Force, and KFX.
- Jet Skis: Ultra, STX, and SX-R.
Motorcycles often have higher performance fuel pumps. ATVs usually have more durable pumps. Jet skis require water-resistant fuel pumps.
Model-specific Fuel Pump Specifications
Each Kawasaki model has specific fuel pump requirements. These requirements vary by engine size and performance needs.
| Model | Fuel Pump Type | Pressure Rating |
|---|---|---|
| Ninja ZX-6R | Electric | 3.0 bar |
| Brute Force 750 | Electric | 2.5 bar |
| Ultra 310X | Electric | 3.5 bar |
Knowing your model’s fuel pump specifications is essential. It helps in diagnosing and fixing fuel pump issues accurately.
Initial Diagnostic Steps
Diagnosing fuel pump problems in Kawasaki engines can be straightforward. Follow these initial diagnostic steps to identify potential issues quickly.
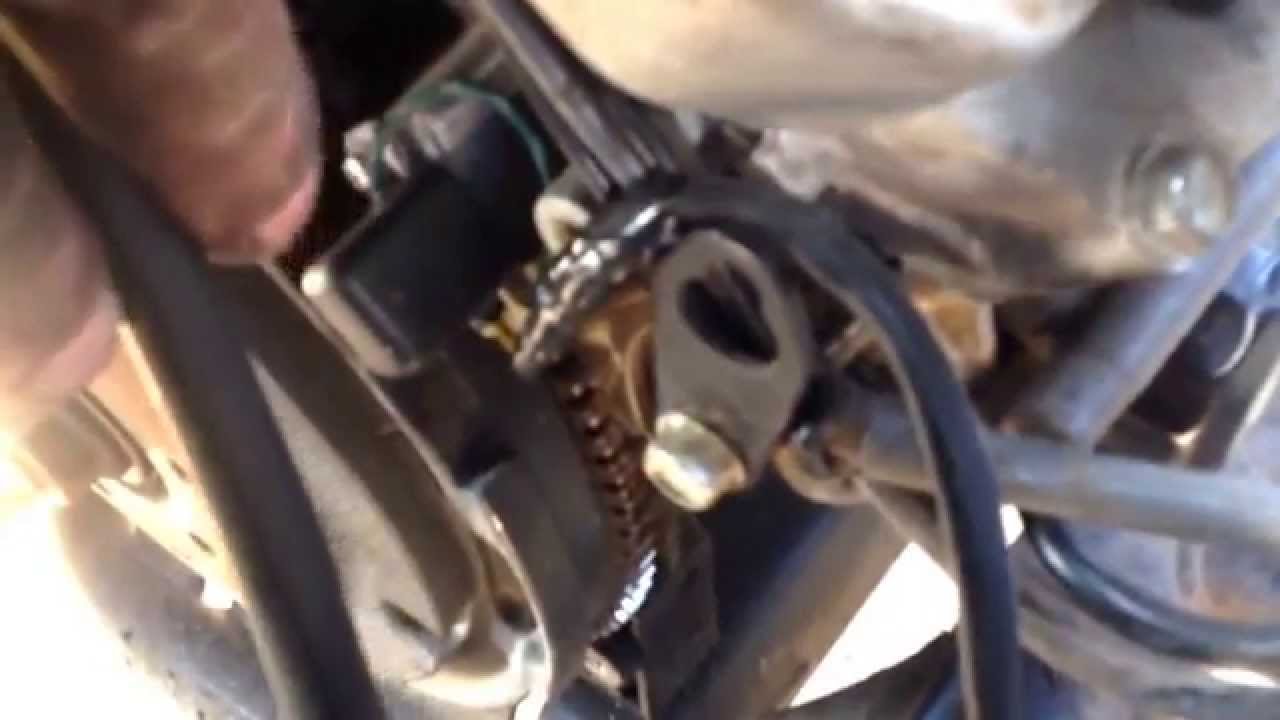
Visual Inspection Guidelines
Start with a visual inspection of the fuel pump and surrounding areas. Look for any obvious signs of wear or damage.
- Check for leaks or cracks in the fuel pump.
- Inspect the fuel lines for any signs of damage or disconnection.
- Ensure all connections are secure and tight.
Use a flashlight to examine hard-to-see areas. Address any visible issues immediately.
Listening For The Fuel Pump Operation
Listening for the fuel pump’s operation is another important step. A properly functioning pump should emit a consistent sound.
- Turn the ignition key to the “ON” position.
- Listen for a humming sound from the fuel pump.
- If no sound is heard, the pump may be faulty.
If the fuel pump is silent, further inspection is needed. This could indicate a more severe issue.
Following these initial diagnostic steps helps identify common Kawasaki fuel pump problems efficiently. Regular inspections ensure your engine runs smoothly.
Credit: www.zx-9r.net
Electrical Checks For The Fuel Pump
Experiencing issues with your Kawasaki fuel pump? Electrical problems could be the cause. Performing electrical checks can help identify and fix these issues. Below, we will cover two critical checks: testing voltage at the pump and inspecting relay and fuse conditions.
Testing Voltage At The Pump
Testing the voltage at the pump is essential. It ensures the fuel pump receives the correct power. Follow these steps:
- Turn off your Kawasaki engine.
- Locate the fuel pump connector.
- Use a multimeter to test the voltage.
- Set the multimeter to the correct voltage range.
- Connect the multimeter leads to the pump terminals.
- Turn on the ignition (do not start the engine).
- Check the voltage reading. It should match the manufacturer’s specification.
If the voltage is too low or too high, it could indicate a problem. You may need to replace the wiring or the fuel pump itself.
Inspecting Relay And Fuse Conditions
Relays and fuses are crucial for the fuel pump’s electrical system. A faulty relay or blown fuse can prevent the pump from working.
- Find the relay and fuse box in your Kawasaki.
- Check the fuel pump relay for any signs of damage or corrosion.
- Use a multimeter to test the relay’s continuity.
- Inspect the fuel pump fuse. Look for any breaks or burn marks.
- Replace any faulty relays or blown fuses immediately.
Ensuring that relays and fuses are in good condition is vital. It helps maintain the electrical system’s integrity and the fuel pump’s functionality.
| Component | Action | Tools Needed |
|---|---|---|
| Fuel Pump Voltage | Test Voltage | Multimeter |
| Fuel Pump Relay | Inspect and Test | Multimeter, Visual Inspection |
| Fuel Pump Fuse | Inspect and Replace | Visual Inspection |
By performing these electrical checks, you can diagnose and resolve most Kawasaki fuel pump problems. This ensures your vehicle runs smoothly and efficiently.
Fuel System Pressure Testing
Fuel System Pressure Testing is crucial for diagnosing Kawasaki fuel pump problems. It helps in identifying issues such as low fuel pressure, which can lead to engine performance problems. This section will guide you through the steps of using a pressure gauge and interpreting the readings to ensure your fuel system is functioning correctly.
Using A Pressure Gauge
To test the fuel pressure, you will need a fuel pressure gauge. Follow these steps:
- Turn off the engine and let it cool.
- Locate the fuel rail test port.
- Connect the fuel pressure gauge to the test port.
- Turn the ignition key to the “on” position.
- Read the pressure gauge.
Ensure the gauge is properly connected. A loose connection may give incorrect readings.
Interpreting Pressure Readings
Once you have the pressure readings, you need to interpret them:
- Normal Pressure: Check the Kawasaki manual for the normal pressure range.
- Low Pressure: Indicates a possible fuel pump failure or a clogged fuel filter.
- High Pressure: Suggests a faulty fuel pressure regulator.
Compare your readings with the recommended values in the manual. If the pressure is outside the normal range, further inspection is needed.
| Pressure Reading | Possible Cause |
|---|---|
| Within Normal Range | Fuel system is functioning correctly. |
| Below Normal Range | Potential pump or filter issue. |
| Above Normal Range | Possible regulator problem. |
Regular pressure testing can prevent major engine issues. Always refer to your Kawasaki manual for specific instructions.
Fuel Pump Replacement Tips
Is your Kawasaki experiencing fuel pump issues? Replacing the fuel pump can solve many problems. Follow these tips to ensure a smooth replacement process.
Choosing The Right Replacement Pump
Selecting the correct pump is crucial. Here are some tips:
- Check Compatibility: Ensure the pump matches your Kawasaki model.
- Quality Matters: Choose a pump from a reputable brand.
- Warranty: Opt for a pump with a good warranty.
Step-by-step Replacement Procedure
Follow these steps to replace the fuel pump:
- Gather Tools: Wrenches, screwdrivers, and safety gloves.
- Disconnect Battery: Safety first! Avoid any electrical hazards.
- Drain Fuel: Remove fuel from the tank to prevent spills.
- Access Pump: Remove the tank cover to reach the pump.
- Disconnect Old Pump: Carefully remove the old pump.
- Install New Pump: Place and secure the new pump.
- Reconnect Battery: Reattach the battery cables.
- Test: Start the engine to ensure proper function.
Replacing the fuel pump can improve your Kawasaki’s performance. Follow these tips for a successful replacement.
Maintenance To Prevent Future Problems
Maintaining your Kawasaki fuel pump is essential to avoid future problems. Regular maintenance keeps the fuel pump running smoothly. Here are some key maintenance tips to consider.
Regular Cleaning And Care
Cleaning the fuel pump regularly prevents dirt buildup. Dirt can clog the pump and reduce efficiency. Use a soft brush to clean the external parts. For internal cleaning, follow the manufacturer’s guidelines. Regular care ensures the pump operates at its best.
Create a cleaning schedule. Clean the pump every three months. This keeps the pump in good condition. It also extends the pump’s lifespan.
Fuel Quality And Additives
Using high-quality fuel is crucial. Low-quality fuel can damage the pump. Always choose fuel from a reputable source. This ensures the fuel is clean and free from contaminants.
Consider using fuel additives. Additives can enhance fuel quality. They can also clean the fuel system. Follow the instructions on the additive’s label. Do not overuse additives as this can harm the pump.
Keep an eye on fuel storage. Store fuel in clean, sealed containers. This prevents contamination and ensures high fuel quality.
| Maintenance Task | Frequency |
|---|---|
| External Cleaning | Every 3 months |
| Internal Cleaning | As per manufacturer guidelines |
| Use High-Quality Fuel | Every refuel |
| Use Fuel Additives | As per instructions |
By following these tips, you can maintain your Kawasaki fuel pump effectively. Regular maintenance prevents common problems and ensures a long-lasting fuel pump.
Advanced Troubleshooting Techniques
If you own a Kawasaki vehicle, you may face fuel pump problems. These issues can cause frustration and downtime. Understanding advanced troubleshooting techniques can save you time and money. This section will cover two critical areas: dealing with intermittent pump issues and knowing when to seek professional help.
Dealing With Intermittent Pump Issues
Intermittent pump issues can be tricky to diagnose. Sometimes the pump works, and other times it fails. Here are some steps to help you troubleshoot these issues:
- Check Electrical Connections: Ensure all wires are secure. Loose wires can cause intermittent problems.
- Inspect the Fuel Filter: A clogged filter can restrict fuel flow. Replace it if necessary.
- Test the Pump Relay: Use a multimeter to check the relay’s function. Replace if faulty.
- Monitor Fuel Pressure: Use a pressure gauge to ensure consistent pressure. Fluctuations indicate a problem.
If these steps do not solve the issue, you may need advanced diagnostic tools. These tools can help pinpoint the problem more accurately.
When To Seek Professional Help
Some fuel pump issues require professional expertise. Knowing when to seek help can prevent further damage. Here are some signs that it’s time to consult a professional:
- Persistent Issues: If the problem persists after basic troubleshooting, seek help.
- Complex Diagnostics: Issues requiring specialized tools or knowledge need professional attention.
- Electrical Problems: Faulty wiring or relay issues are best handled by experts.
- Unusual Noises: Strange sounds from the pump indicate a deeper issue.
Consulting a professional can save you from costly repairs down the line. They have the expertise to diagnose and fix complex issues.
Troubleshooting Case Studies
Understanding Kawasaki fuel pump problems can be challenging. Real-world cases help. In this section, we share stories and solutions. Learn from common mistakes and successes.
Real-world Problem Solving Scenarios
Let’s dive into some real-world scenarios. These stories highlight common issues and solutions.
Case Study 1: Intermittent Engine Stalling
John’s Kawasaki engine kept stalling. He checked the fuel pump. It was clogged.
- Problem: Dirt in the fuel pump
- Solution: Cleaned the fuel pump filter
John’s engine ran smoothly again.
Case Study 2: Low Fuel Pressure
Susan noticed her Kawasaki had low power. Fuel pressure was low.
- Problem: Faulty fuel pump diaphragm
- Solution: Replaced the diaphragm
Susan’s bike regained its power.
Lessons Learned From Common Mistakes
Common mistakes can lead to fuel pump problems. Learn from these errors to avoid issues.
Lesson 1: Ignoring Regular Maintenance
Many users neglect regular maintenance. This leads to fuel pump clogs.
- Mistake: Skipping scheduled maintenance checks
- Lesson: Follow the maintenance schedule strictly
Regular checks prevent clogs and keep the pump clean.
Lesson 2: Using Low-Quality Fuel
Low-quality fuel can damage the pump. It contains impurities.
- Mistake: Using cheap, low-quality fuel
- Lesson: Always use high-quality fuel
High-quality fuel helps in maintaining the fuel pump.
Table of Common Problems and Solutions
| Problem | Cause | Solution |
|---|---|---|
| Engine Stalling | Clogged fuel pump | Clean the filter |
| Low Fuel Pressure | Faulty diaphragm | Replace diaphragm |
| Overheating | Blocked fuel lines | Clear blockages |
Learning from these cases can help you fix Kawasaki fuel pump problems. Stay proactive and keep your fuel pump in top condition.
Conclusion: Ensuring Longevity Of Your Kawasaki’s Fuel Pump
Maintaining regular inspections and using quality fuel can extend the lifespan of your Kawasaki’s fuel pump. Preventative care helps avoid common issues, ensuring reliable performance.
Maintaining your Kawasaki’s fuel pump is crucial for its long life. Proper care ensures smooth operation and avoids costly repairs. Here, we provide key takeaways and final thoughts on fuel pump care.Summary Of Key Takeaways
- Regular Maintenance: Check and clean the fuel pump often.
- Quality Fuel: Use high-quality fuel to prevent blockages.
- Keep Tank Full: A full tank reduces pump stress.
- Timely Replacement: Replace worn-out parts promptly.
Final Thoughts On Fuel Pump Care
Proper care extends your Kawasaki’s fuel pump life. Follow these steps:- Check the fuel filter regularly.
- Ensure clean and debris-free fuel.
- Inspect fuel lines for leaks.
- Keep the fuel tank clean and full.
- Listen for unusual sounds from the pump.
| Action | Benefit |
|---|---|
| Regular Maintenance | Prevents unexpected failures |
| Quality Fuel | Reduces deposits and clogs |
| Full Tank | Lowers pump strain |
| Timely Replacement | Avoids major repairs |

Credit: www.youtube.com
Conclusion
Addressing Kawasaki fuel pump problems early can save time and money. Regular maintenance ensures a longer lifespan for your bike. Checking and replacing faulty parts is crucial. Always use genuine Kawasaki parts to avoid complications. Stay proactive and keep your Kawasaki running smoothly.
For any issues, consult a professional mechanic.